Please note that the recommended version of Scilab is 2026.1.0. This page might be outdated.
See the recommended documentation of this function
Menu_entries
Editor menu entries
File menu
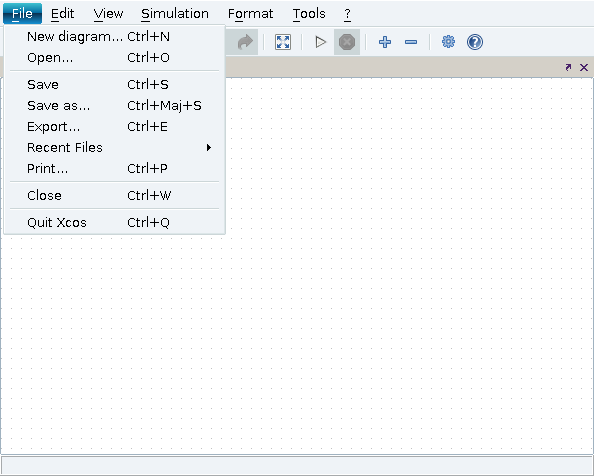
File:New
Clicking on the New menu item loads an empty diagram in the active editor xcos window. If the previous content of the window is not saved, it will be lost. With this menu, you can open a new diagram or a new palette.
File:Open (Ctrl+o)
Select the Open menu item to load an ASCII or binary file containing a saved block diagram or palette. A dialog box allows user choosing the file.
File:Save (Ctrl+s)
Select the save menu item to save the block diagram in a binary file already selected by a previous select the Save As menu item. If you select this menu item and you have never clicked on the Save As menu item, the diagram is saved in the current directory as "window_name".cos where "window_name" is the name of the window appearing on top of the window (usually Untitled or Super Block). The .cos binary files are machine independent.
File:Save As (Ctrl+Shift+s)
Select the Save As menu item to save the block diagram or palette in a file. A dialog box allows choosing the file which must have a .cos or .cosf extension. The diagram takes the name of the file (without the extension). If extension is ".cosf" an ASCII formatted save is performed instead of binary save. Formatted save is slower than regular save.
File:Export (Ctrl+e)
This menu is used to export a figure of the current xcos diagram. The export can be done directly in postscript format or done first in a graphic window to export in a second step in all the format that scilab can provide.
File:Recent Files
Via this menu, you have a quick access to the recent opened files.
File:Print (Ctrl+p)
Print the current diagram onto a printer.
File:Close (Ctrl+w)
If several diagram are opened, the Close action closes the current diagram. If only one diagram is opened, the Close action will close xcos and closes the viewport and palettes windows if these windows are opened.
File:Quit (Ctrl+q)
If several diagram are opened, the Quit action will close xcos and closes the viewport and palettes windows if these windows are opened. It will close all the opened diagram.
Edit menu
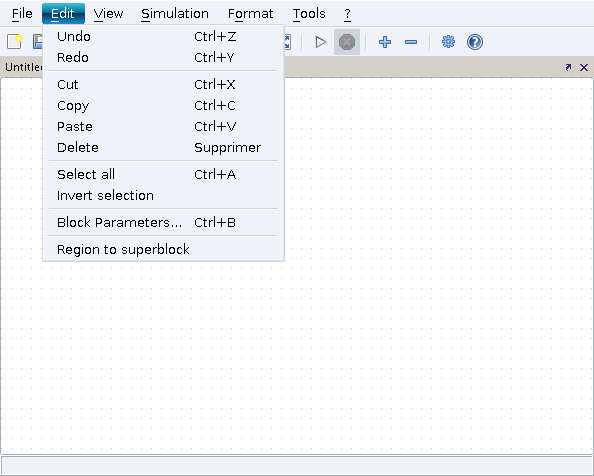
Edit:Undo (Ctrl+z)
Select the Undo menu item to undo the last edit operation.
Edit:Redo (Ctrl+y)
Select the Redo menu item to redo the last undo edit operation.
Edit:Cut (Ctrl+x)
Cut is used to remove the selected object from the diagram and keep a copy in the clipboard if the object is a block.
Edit:Copy (Ctrl+c)
Copy is used to place a copy of the selected object in the clipboard if the object is a block.
Edit:Paste (Ctrl+v)
Paste places the object in the Clipboard in the diagram.
Edit:Delete (Delete)
To delete blocks or a links, select first the Delete menu item, then click successively on the selected objects (with left button). When you delete a block all links connected to it are deleted as well.
Edit:Select all (Ctrl+a)
Select all the blocks in the current diagram.
Edit:Invert selection
Invert the current selection.
Edit:Block Parameters (Ctrl+b)
Open the block configuration window for the current selected block.
Edit:Region to superblock
Convert a selection of blocks into a superblock.
View menu
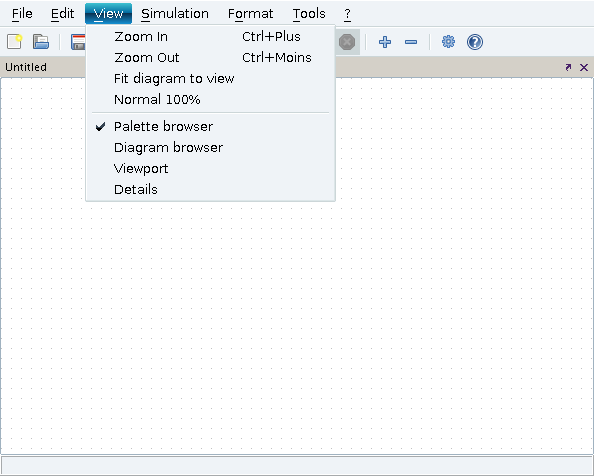
View:Zoom in (Ctrl+plus)
When you select this menu item the diagram is zoomed in by a factor of 10%.
View:Zoom out (Ctrl+minus)
When you select this menu item the diagram is zoomed out by a factor of 10%.
View:Fit diagram to view
When you select this menu item the diagram is fit to the size of the current window.
View:Normal 100%
Resize the work area so as the diagram fits onto this work area.
View:Palette browser
Open the palette browser.
View:Diagram browser
Displays a window which lists all the blocks of a diagram and print some informations related to the scs_m structure of the blocks.
View:Viewport
Display the viewport. The viewport is an image of the current diagram. With the viewport, you can move the working area onto a piece of the diagram. You can zoom and unzoom part of a diagram.

Above, you have an example of the viewport which is used to zoom on a part of a diagram, and on the right, the xcos window displays the zoomed part of the diagram.
View:Details
Displays a window which lists all the selected blocks of a diagram and print some informations related to the scs_m structure of these blocks.
Simulation menu
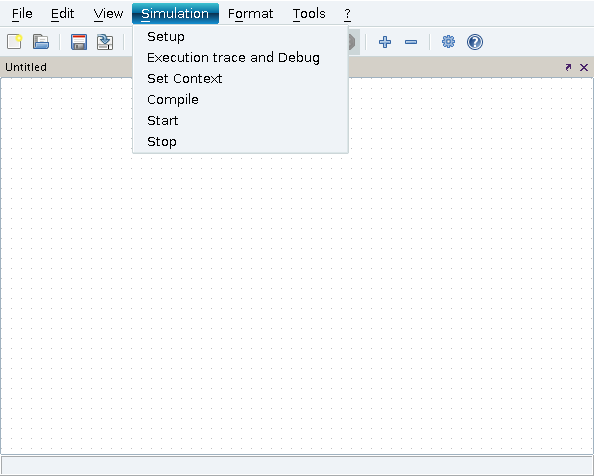
Simulation:Setup
In the main Xcos window, clicking on the Setup menu item invokes a dialog box that allows you to change integration parameters:
Final integration time (integration ends at this time, it always starts from 0)
Real time scaling (forces real time simulation by setting xcos unit of time to 1 second)
Absolute and relative error tolerances (solver properties)
Time tolerance (the smallest time interval for which the ode solver is used to update continuous states)
Max integration time interval (the maximum time interval for each call to solver, it must be reduced if the error message "too many calls" is encountered)
Solver (choose the numerical solver to be used), Max step size (max time step taken by solver)
Execution trace and Debug
Set Xcos in debug mode. Allows diagram debugging.
Simulation:Set Context
When you select this menu item you obtain a dialog to enter Scilab instructions for defining symbolic Xcos parameters used in block definitions or to do whatever you want. These instructions will be evaluated each time the diagram is loaded. If you change the value of a symbolic Xcos parameters in the context, all the blocks are updated (Eval is performed).
Simulate:Compile
Select the Compile menu item to compile the block diagram. This menu item need never be used since compilation is performed automatically, if necessary, before the beginning of every simulation (Run menu item). Normally, a new compilation is not needed if only system parameters and internal states are modified. In some cases however these modifications are not correctly updated and a manual compilation may be needed before a Restart or a Continue. Please report if you encounter such a case.
Simulate:start
Select the Run menu item to start the simulation. If the system has already been simulated, a dialog box appears where you can choose to Continue, Restart or End the simulation.
Simulation:Stop
You may interrupt the simulation by clicking on the "stop" button, change any of the block parameters and continue the simulation with the new values.
Format menu
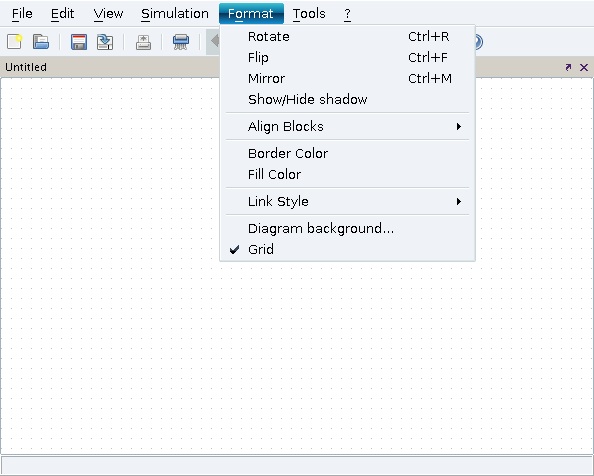
Format:Rotate (Ctrl+r)
Rotate allows to turn a block on the Left. Each time the block is turned left, his angle is decresead of 45 degrees. If no blocks or many blocks are selected, this is the block under the mouse pointer which turns.
Format:Flip (Ctrl+f)
To reverse the positions of the (regular) inputs and outputs of a block placed on its sides, select the Flip menu item first and then click on the selected block. This does not affect the order, nor the position of the input and output event ports which are numbered from left to right.
Format:Show/Hide shadow
This menu allows to select 3D shape for selected blocks and associated parameters.
Format:Align Blocks
When you select several blocks, it is possible to align them vertically (Top, Bottom and Middle) and horizontally (Left, Right, Center).

Format: Border Color
This menu allows to change the border color.
Format:Line Color
This menu allows to change the line color.
Format:Link Style

This menu allows to the the style of the link:
Horizontal
Straight
Vertical
Format:Diagram background
This menu allows to change the background color.
Format:Grid
This menu allows to activate / desactivate the grid. Using a grid, it is easier to place a block on the working area.
Tools menu
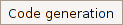
Tools:Code generation
This menu allows to generate the simulation code associated with a discrete time Super Block. The code generation is obtained simply by selecting this menu and then the desired Super Block. If the Super Block satisfies the required conditions, a dialog box pops up to ask for a block name, a directory where to put the generated files and for optional libraries requested by the linker. Given this information the code is generated, compiled and linked with Scilab. The Super Block is automatically replaced by a new block which implements the generated code. It is then possible to run the modified diagram. The code for standalone use is also generated.
Help menu
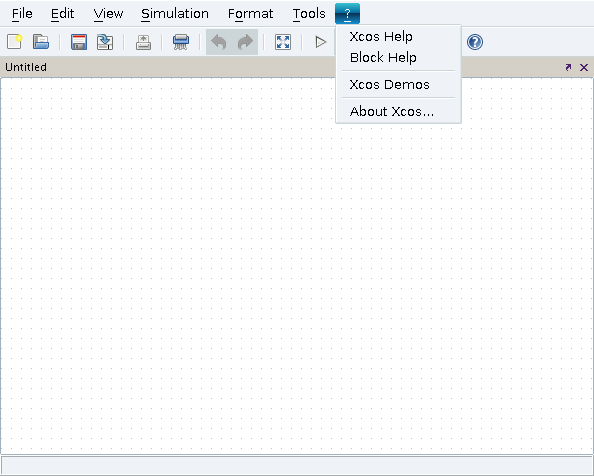
Help:Xcos Help
This menu opens the help browser.
Help:Block Help
To get help on a Xcos object (a block), select first an object (a block) and then click on this menuHelp menu item and then on the selected object or menu item.
Help:Xcos Demos
The Demos menu allows to open some examples of Xcos diagram.
Help:About Xcos
About xcos item display the current version of Xcos and gives some useful informations.
| << xcos | xcos | Spreadsheet >> |